I used to meal prep the way everyone on YouTube does it: rows of identical plastic containers, each with 6 oz of chicken, a scoop of rice, and some broccoli. It worked, technically. But after a few months I had a cabinet overflowing with stained, warped containers I couldn’t stack properly, lids that didn’t match anything, and a growing unease about reheating food in plastic three times a day.
The shift wasn’t complicated. It was replacing the containers — not the system. The same weekly prep habit, the same batch cooking logic, but with glass, stainless steel, and materials that don’t degrade when they touch hot food. Here’s exactly how I do it, with a spring-specific menu built around what’s fresh and affordable right now.
The Container Setup (One-Time Investment)
You don’t need to buy a matching set of anything. You probably already own most of what you need. Here’s the minimal kit:
Wide-mouth quart mason jars (4–6): For salads, grain bowls, soups, overnight oats, and dressings. Layer ingredients with wet items on the bottom and greens on top. They seal tight, stack in the fridge, and cost about $2 each. You likely have some already.
Glass storage containers with lids (3–4): For larger batches — roasted vegetables, cooked grains, marinated proteins. Pyrex, Anchor Hocking, or IKEA glass containers all work. Oven-to-fridge-to-table without switching vessels.
Stainless steel tiffin or bento box (1–2): For packed lunches and transport. Lighter than glass, virtually indestructible, and won’t shatter if you drop it. Brands like LunchBots, ECOlunchbox, and PlanetBox make solid options.
Beeswax wraps or silicone stretch lids: For covering bowls, wrapping halved avocados or lemons, and replacing plastic wrap. Reusable for 6–12 months with care.
Cloth produce bags: For farmers market hauls and fridge storage. Mesh bags for hearty produce, muslin bags for greens. They breathe better than plastic, which actually extends produce life for some items.
Total startup cost if buying from scratch: $40–75. But most kitchens already have mason jars and at least one glass container. Start with what you have and add pieces as you go.
The Sunday System: 90 Minutes, 5 Days of Food
The framework is simple: prep components, not complete meals. This gives you flexibility during the week without the monotony of eating the same exact container five days in a row.
Step 1: Cook Two Grains (20 minutes hands-off)
Make a big batch of two different grains. This week: brown rice and quinoa. Cook each in your homemade vegetable scrap broth instead of water for dramatically better flavor at zero additional cost. Store in glass containers. These are your base layer for bowls, stir-fries, soups, and sides all week.
Step 2: Roast a Sheet Pan of Spring Vegetables (25 minutes)
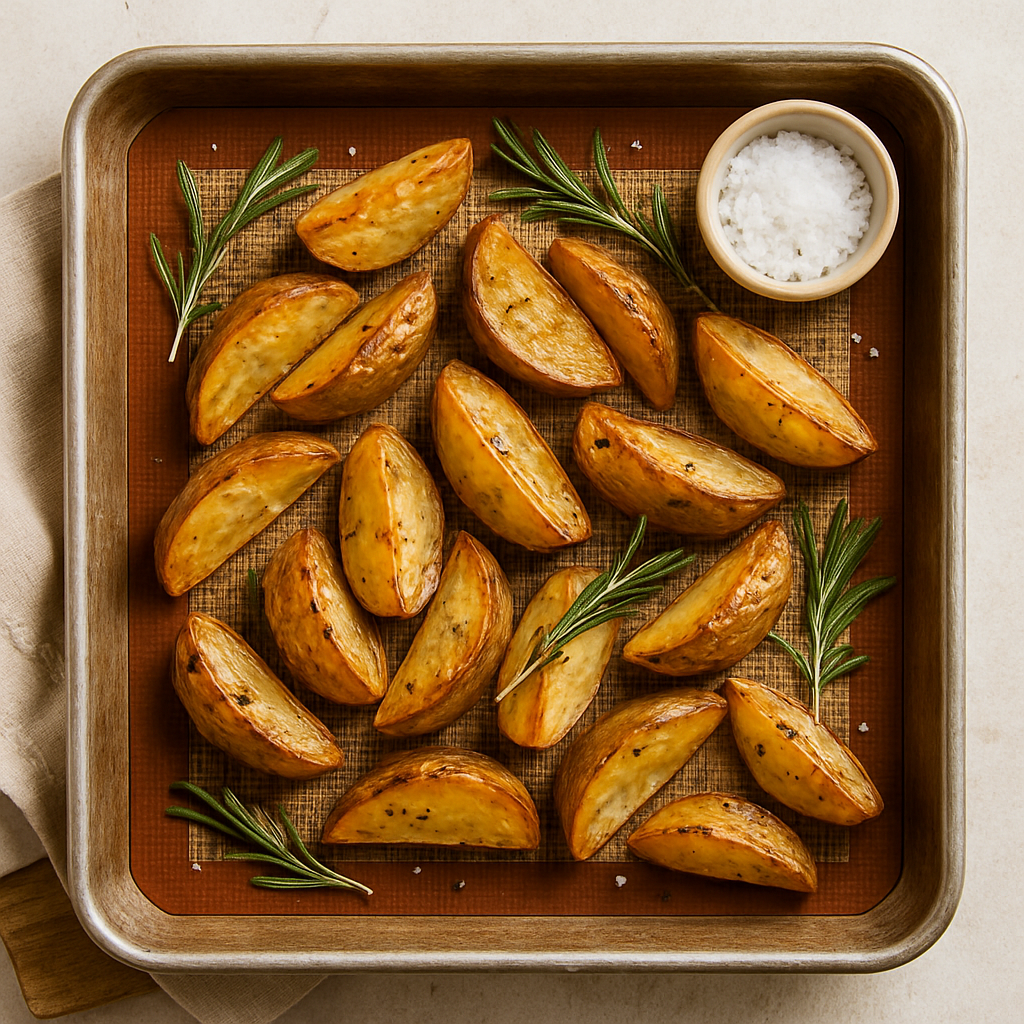
Toss whatever’s in season on a sheet pan with olive oil, salt, and pepper. For spring: asparagus, radishes (they get sweet when roasted), snap peas, spring onions, and new potatoes. Roast at 425°F until caramelized. These go into bowls, wraps, salads, and as sides throughout the week.
Step 3: Prep One Protein (20 minutes)
Bake a batch of chicken thighs with herbs and lemon, cook a pot of lentils, or make a big batch of baked tofu. Season simply so it’s versatile — you can add different sauces and dressings throughout the week to change the flavor profile without cooking again.
Step 4: Make Two Sauces/Dressings (10 minutes)
This is the secret weapon. Two different dressings turn the same base ingredients into completely different meals. This week: a lemon-tahini dressing and a ginger-soy vinaigrette. Store in small mason jars. Monday’s quinoa bowl with tahini dressing tastes nothing like Wednesday’s quinoa bowl with ginger-soy and different toppings.
Step 5: Wash and Prep Greens (10 minutes)
Wash, dry, and store salad greens in a glass container lined with a cloth towel (absorbs excess moisture and extends life by days). Prep any raw vegetables you’ll eat during the week: sliced cucumbers, shredded carrots, halved cherry tomatoes. Keep them in separate containers so they stay fresh.
A Week of Meals From One Prep Session
Here’s how those five components become completely different meals without cooking again until next Sunday:
Monday: Quinoa bowl + roasted asparagus + chicken + lemon-tahini dressing. Packed in a mason jar for lunch.
Tuesday: Brown rice + roasted radishes and snap peas + lentils + ginger-soy vinaigrette. Warm or cold.
Wednesday: Big salad with mixed greens + quinoa + sliced cucumber + chicken + tahini dressing. No cooking required.
Thursday: Stir-fry the remaining rice with leftover roasted vegetables and a splash of soy sauce. 5 minutes, one pan.
Friday: Soup day. Simmer remaining lentils with vegetable scrap broth, add whatever vegetables are left, season with whatever sounds good. This is the “clean out the fridge” meal that prevents weekend food waste.
Why Plastic-Free Prep Actually Works Better
This isn’t just an environmental argument. Glass and stainless steel are functionally better for meal prep:
No staining. Glass doesn’t absorb turmeric, tomato sauce, or curry the way plastic does. Your containers look the same after a year as they did on day one.
No warping. Glass and steel maintain their shape through thousands of wash cycles. Plastic warps in the dishwasher, lids stop sealing, and you end up replacing them — which defeats the purpose.
No chemical leaching. Research continues to show that heating food in plastic — even “BPA-free” plastic — releases chemicals into food. Glass is inert. Nothing transfers.
Better temperature handling. Glass goes from freezer to microwave to table. Steel goes from prep to lunchbox to dishwasher. No “microwave-safe” guessing games.
Frequently Asked Questions
Isn’t glass heavy for commuting?
A quart mason jar weighs about 1 lb. A stainless steel tiffin weighs less than half a pound. If weight is a concern, prep in glass at home and transfer to a stainless steel bento for transport. Best of both worlds.
How long do prepped ingredients last?
Cooked grains: 5–6 days refrigerated. Roasted vegetables: 4–5 days. Cooked protein: 3–4 days. Raw prepped vegetables: 4–7 days depending on the vegetable. Dressings: 7–10 days. The Sunday-to-Friday cycle works within these windows comfortably.
Can I freeze meal prep portions in glass?
Yes, with one rule: leave headspace (about an inch) in the jar or container. Liquids expand when frozen, and a too-full glass jar will crack. Wide-mouth jars are best for freezing because the straight sides allow easy removal even when partially frozen.
What about mason jar salads — do they actually stay fresh?
Yes, if layered correctly. Dressing goes on the bottom. Then hearty ingredients (grains, beans, roasted vegetables). Then softer items (tomatoes, cucumber). Greens on top. The dressing stays separated from the greens until you shake and pour. They stay fresh for 4–5 days this way.
Keep Reading
The Clean Pantry Reset — Organize your dry goods so Sunday prep is faster and smoother.
5 Root-to-Stem Recipes — Turn your meal prep scraps into bonus meals instead of compost.
Zero-Waste Freezer Blueprint — The companion system for freezing portions, scraps, and overflow.
What’s your go-to meal prep hack? Something that saves you time, money, or sanity during the week? Drop it in the comments — I’m always looking for ways to streamline the system further.
New posts every Tuesday and Friday. Follow MZWK for practical systems, seasonal recipes, and kitchen upgrades that make clean living the easy default.